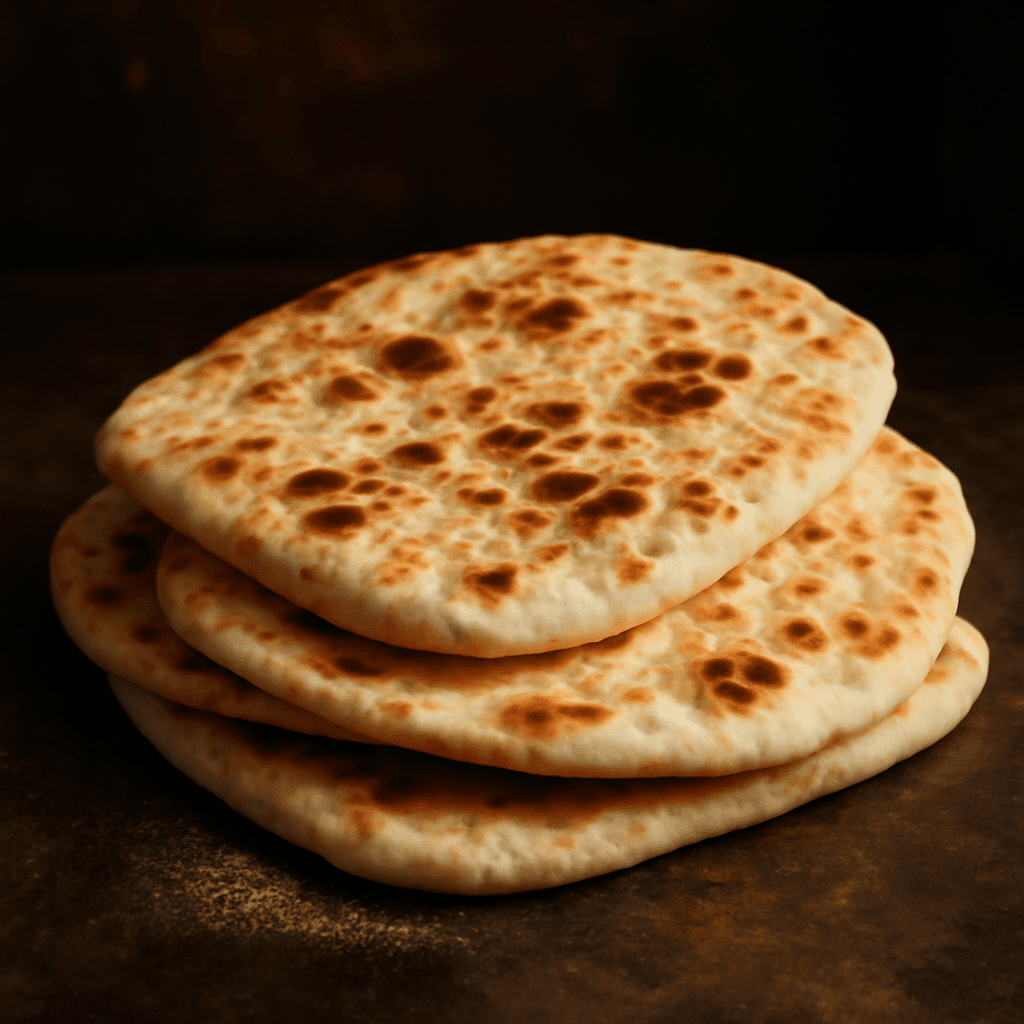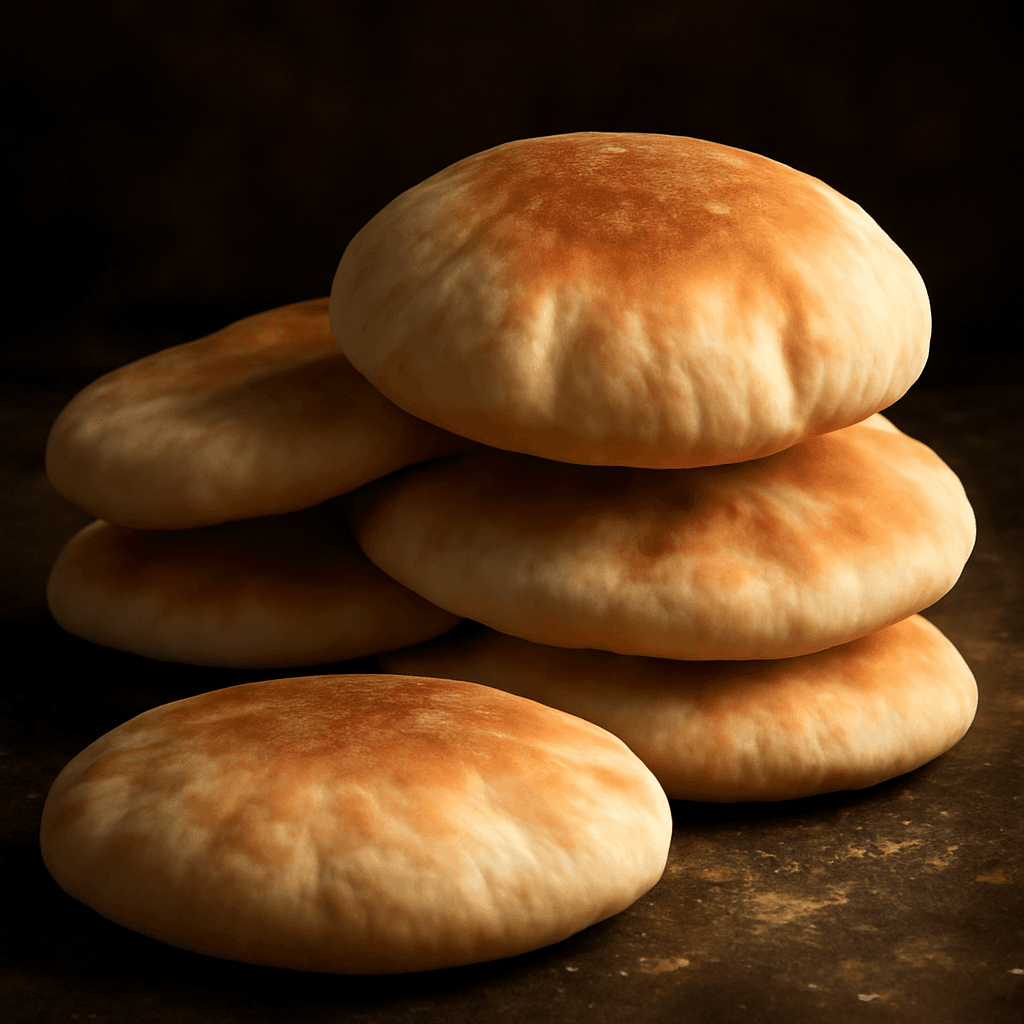
Homemade Pita Bread - freshly baked bread

Homemade Pita Bread

Flatbreads

Puffy, pocket-perfect pita bread baked at high heat. Watch them inflate like balloons in the oven.

Prep Time

15 min

Proof Time

1h

Bake Time

15 min

Servings

8

Calories

170

Ingredients

  • 2½ cups all-purpose flour
  • 1 tsp instant yeast
  • ¾ cup warm water
  • 2 tbsp olive oil
  • 1 tsp salt
  • 1 tsp sugar

Instructions

  1. 1

    Mix

    Combine flour, yeast, sugar, and salt. Add water and oil. Mix until a dough forms.

  2. 2

    Knead & Rest

    Knead 5 minutes until smooth. Cover and rest 30–60 minutes.

  3. 3

    Shape

    Divide into portions. Roll each into thin rounds on a floured surface.

  4. 4

    Cook

    Cook on a hot skillet or baking surface until puffed and charred in spots.

Baker's Notes

A screaming-hot cooking surface is the single most important factor in flatbread baking. Get your skillet or stone as hot as it will go.

Baker Thomas Moreau

About This Recipe

There's something quietly magical about watching a thin disc of dough transform into a puffy pocket in the oven. These homemade pitas get their signature lift from one thing: extreme heat. When that dough hits a scorching surface, the water trapped inside flashes into steam and pushes the layers apart before the crust sets. The result is a bread that's tender inside, lightly charred outside, and perfect for scooping up hummus or wrapping around shawarma.

What makes this recipe worth the effort is how forgiving it is. You only need six pantry staples — all-purpose flour, instant yeast, warm water, olive oil, salt, and a touch of sugar — and thirty minutes of hands-on work. Once you've mastered the technique, you'll find yourself making batches for everything from breakfast sandwiches to dinner parties.

Tips for the Best Homemade Pita Bread

Get your cooking surface properly hot before the dough goes on — I use a cast iron griddle or baking steel preheated to 500°F for about fifteen minutes. Roll each round thin and even; uneven thickness means some pitas will puff while others stay flat. Cook quickly, just until you see bubbles forming and light brown spots appear, then flip once. Stack the finished pitas immediately under a clean kitchen towel so they stay soft.

What to Serve With It

These pitas shine alongside classic Middle Eastern spreads — baba ganoush, muhammara, or my favourite, a simple garlic-tahini drizzle. They also work beautifully as a vessel for grilled chicken or lamb kofta with pickled turnips and fresh mint. For a Canadian twist, try filling them with smoked salmon, cream cheese, and capers for a brunch sandwich, or use them to wrap leftover roast beef and horseradish.

Storage & Reheating

Pita bread is at its absolute best on the day it's made, so plan accordingly. If you have leftovers, let them cool completely, then stack them between parchment paper and freeze in a sealed bag for up to three months. Reheat straight from frozen in a dry skillet over medium-high heat for about a minute per side, or wrap a few in foil and warm them in a 350°F oven for ten minutes.
Nutrition Facts

170

cal

5g

Protein

7g

Fat

38g

Carbs

1g

Fiber

302mg

Sodium

Frequently Asked Questions

Why didn't my pitas puff up?+

The most common culprit is an insufficiently hot cooking surface. Your griddle or baking steel needs to reach roughly 500°F before the dough touches it. Also check that your yeast is active and that you rolled the rounds evenly thin.

Can I use bread flour instead of all-purpose?+

Yes, but expect a chewier, denser crumb since bread flour has more protein. All-purpose gives you the soft, pillowy texture traditional pitas are known for.

How do I know when the water is warm enough?+

Aim for about 110°F — comfortable to the touch but not hot. Water that's too cool won't activate the yeast efficiently, and water that's too hot will kill it.

Can I make the dough ahead of time?+

You can mix the dough and refrigerate it overnight for a slower rise, which actually develops more flavour. Let it come to room temperature for about thirty minutes before shaping and cooking.

My pitas deflate after cooking. Is that normal?+

Some deflation is expected once the steam escapes. To minimise it, serve them immediately or stack them under a towel right away so the residual heat keeps them pliable.

Tips & Tricks

  • A screaming-hot cooking surface is essential for the best results.
  • Stack cooked flatbreads under a towel to keep them warm and pliable.
  • Most flatbreads are best eaten the same day they're made.

Reviews (4)

Robert B.★★★★★

Five stars! The crust was perfectly crispy and the crumb was soft and airy. I'll never buy store-bought bread again.

Jennifer K.★★★★★

This is now our go-to bread recipe. The house smelled incredible while it was baking. My kids couldn't wait to tear into a warm slice.

André G.★★★★★

Just like from the bakery! The crust is crispy and the crumb is soft. Bravo for this extraordinary recipe.

Chantal D.★★★★★

Easy to prepare and so delicious! Even my picky kids went for seconds. This bread has become a staple in our home.