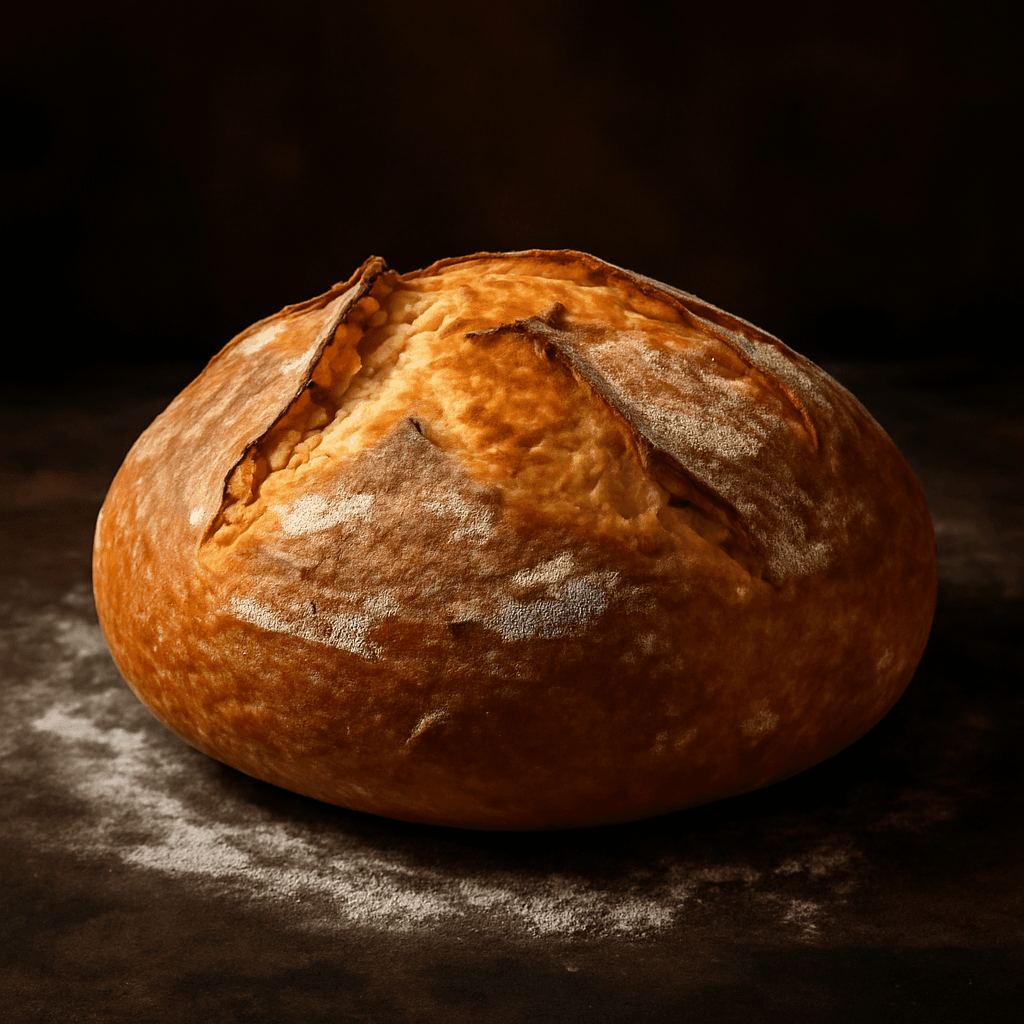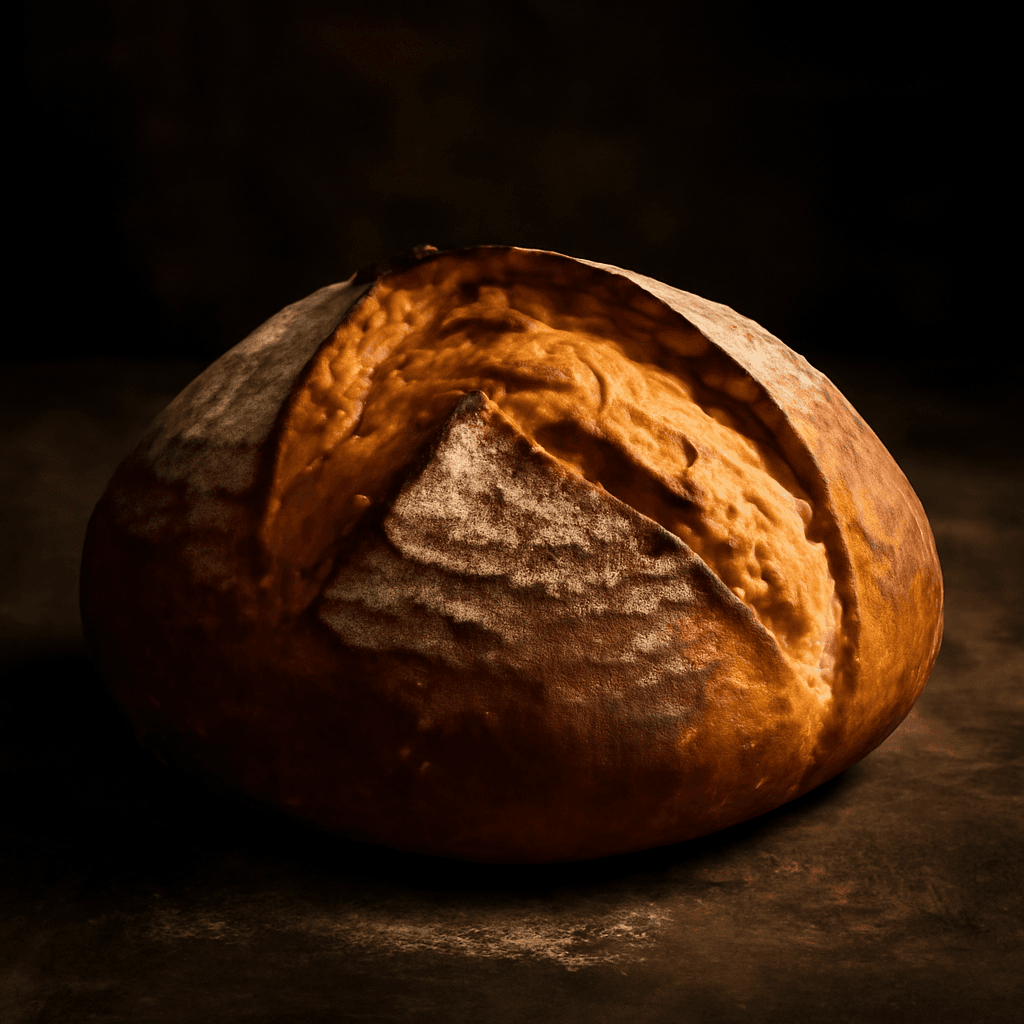
Crusty Rustic Boule - freshly baked bread

Crusty Rustic Boule

Artisan & Crusty Bread

A beautiful round artisan loaf with a deeply crackly crust and an open, airy crumb.

Prep Time

20 min

Proof Time

3h

Bake Time

40 min

Servings

10

Calories

180

Ingredients

  • 500 g bread flour
  • 350 g water
  • 1½ tsp instant yeast
  • 10 g salt

Instructions

  1. 1

    Mix

    Combine flour, yeast, and water. Rest 20 minutes (autolyse).

  2. 2

    Add Salt & Develop

    Sprinkle salt over dough and incorporate. Stretch-and-fold every 30 min for 2 hours.

  3. 3

    Bulk Ferment

    Let dough rest, covered, until doubled and bubbly.

  4. 4

    Shape

    Pre-shape, rest 15 minutes, then final shape.

  5. 5

    Proof

    Place in a floured banneton or on parchment. Proof 45–60 minutes.

  6. 6

    Score & Bake

    Score the top. Bake at 475°F (245°C) with steam until deeply golden.

Baker's Notes

Steam in the first 10 minutes of baking is the secret to a crackling, blistered artisan crust. A Dutch oven is the easiest way to trap steam at home.

Baker Thomas Moreau

About This Recipe

There is something almost magical about a properly baked boule. That deep golden crust that cracks audibly when you press your thumb against it, giving way to a crumb full of irregular holes and a faint tang from a long fermentation. This rustic loaf is the kind of bread that makes you feel like you've earned your place in a Parisian bakery.

Canadian home bakers have embraced this recipe because it rewards patience without demanding fancy equipment. You only need flour, water, salt, and yeast — nothing more — yet the result is bread that rivals what you'd find in Montreal's best boulangeries. The autolyse step does most of the heavy lifting, so even beginners get a beautiful loaf.

Tips for the Best Crusty Rustic Boule

The key to this boule is the steam during the first ten minutes of baking — it keeps the crust supple long enough for maximum oven spring, then sets into that signature crackle. A hot Dutch oven or baking stone works beautifully, and don't skip the stretch-and-folds; they build the gluten network that gives this bread its open, airy crumb.

What to Serve With It

Slice this boule thick and serve it alongside a bowl of creamy onion soup or a simple salad dressed with good olive oil and fresh herbs. It pairs wonderfully with a glass of Pinot Noir, and there is nothing quite like tearing off a piece while it is still warm from the oven, slathered with cultured butter from a local dairy. Serve it with a charcuterie board for weekend entertaining.

Storage & Reheating

Wrap cooled bread in a linen cloth or paper bag to preserve the crust for up to two days. If you need to keep it longer, slice and freeze — this bread freezes beautifully. To reheat, pop slices directly into a 375°F oven for five minutes, or run the whole loaf under water and bake at 400°F for ten minutes to revive that crackly exterior.
Nutrition Facts

180

cal

6g

Protein

2g

Fat

26g

Carbs

1g

Fiber

229mg

Sodium

Frequently Asked Questions

How do I know when my boule is fully baked?+

The bottom should sound hollow when tapped, and the internal temperature should reach 205-210°F. The crust will be deeply golden brown, almost mahogany in colour.

Can I use all-purpose flour instead of bread flour?+

You can, but bread flour gives you the stronger gluten structure needed for that open crumb. If using AP, expect a slightly denser loaf with less dramatic oven spring.

What is the best way to create steam in my home oven?+

Place a cast iron pan on the bottom rack while preheating, then pour one cup of boiling water into it when you load the bread. Alternatively, spray the oven walls vigorously with water and close the door quickly.

Why does my boule spread flat instead of rising upward?+

This usually means the shaping wasn't tight enough. Pull the surface taut when forming the round, and ensure the seam is sealed underneath. A loose shape spreads rather than springs upward in the oven.

Can I make this ahead and bake it later?+

Yes — after shaping, place the dough in the fridge for a cold proof overnight. Bake straight from the refrigerator the next morning, adding a few extra minutes to the baking time since the dough will be chilled.

Tips & Tricks

  • Steam in the first 10 minutes of baking creates a signature crackling crust.
  • Use a lamé (razor blade) for sharp, clean scores on the dough.
  • Don't rush fermentation — time develops flavour and structure.

Reviews (5)

Pierre T.★★★★★

Excellent recipe. I followed the instructions to the letter and the result was perfect. My wife loved it. The best homemade bread I've made.

Marie L.★★★★★

Made this last weekend and my family loved it! The bread came out perfectly golden with a beautiful crust. Will definitely be making this again.

Michael W.★★★★★

This recipe is a keeper. The Baker's Notes really helped me understand the technique. My new favourite bread to bake on weekends.

Sarah M.★★★★★

So glad I found this recipe. The instructions are clear and the result is consistently great. I've made it four times already and it's perfect every time.

David C.★★★★★

Bakery-quality bread at home. I followed the recipe exactly and it turned out amazing. The proofing tips really helped.