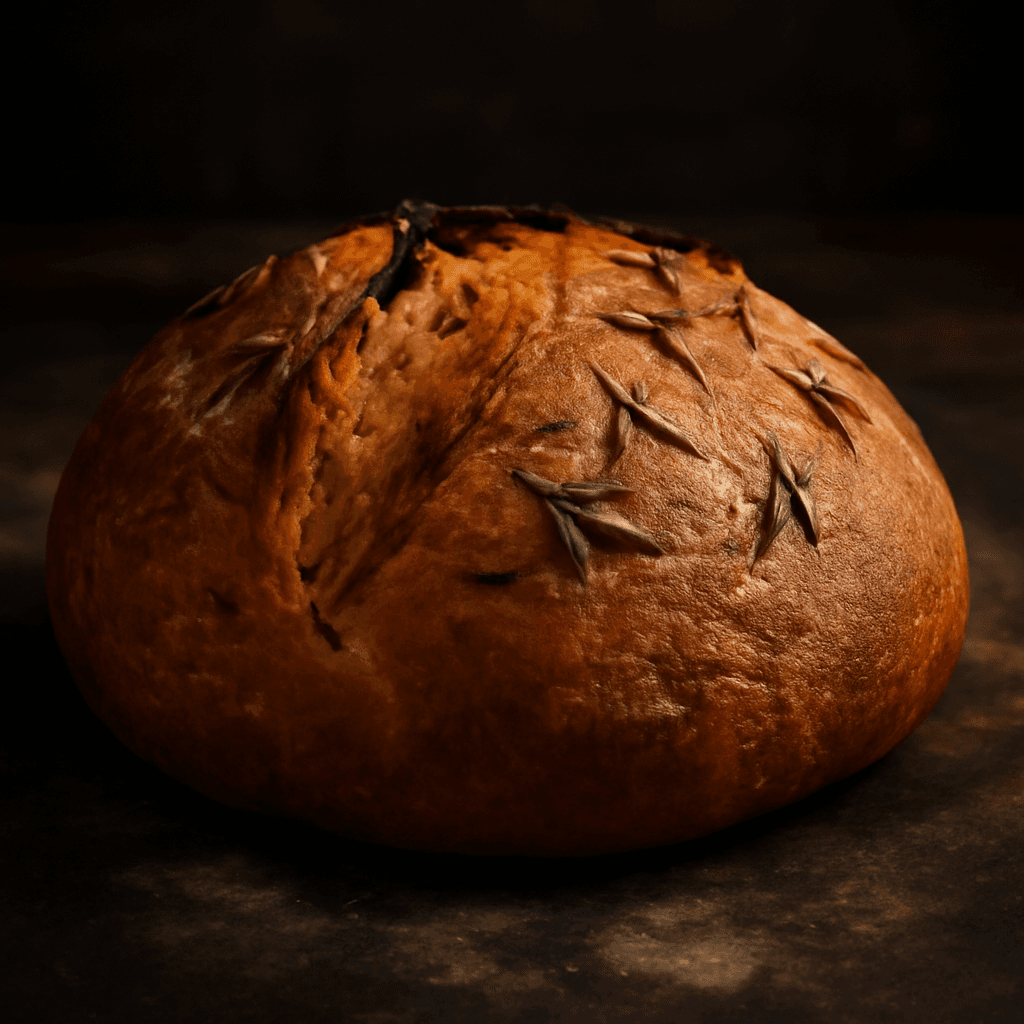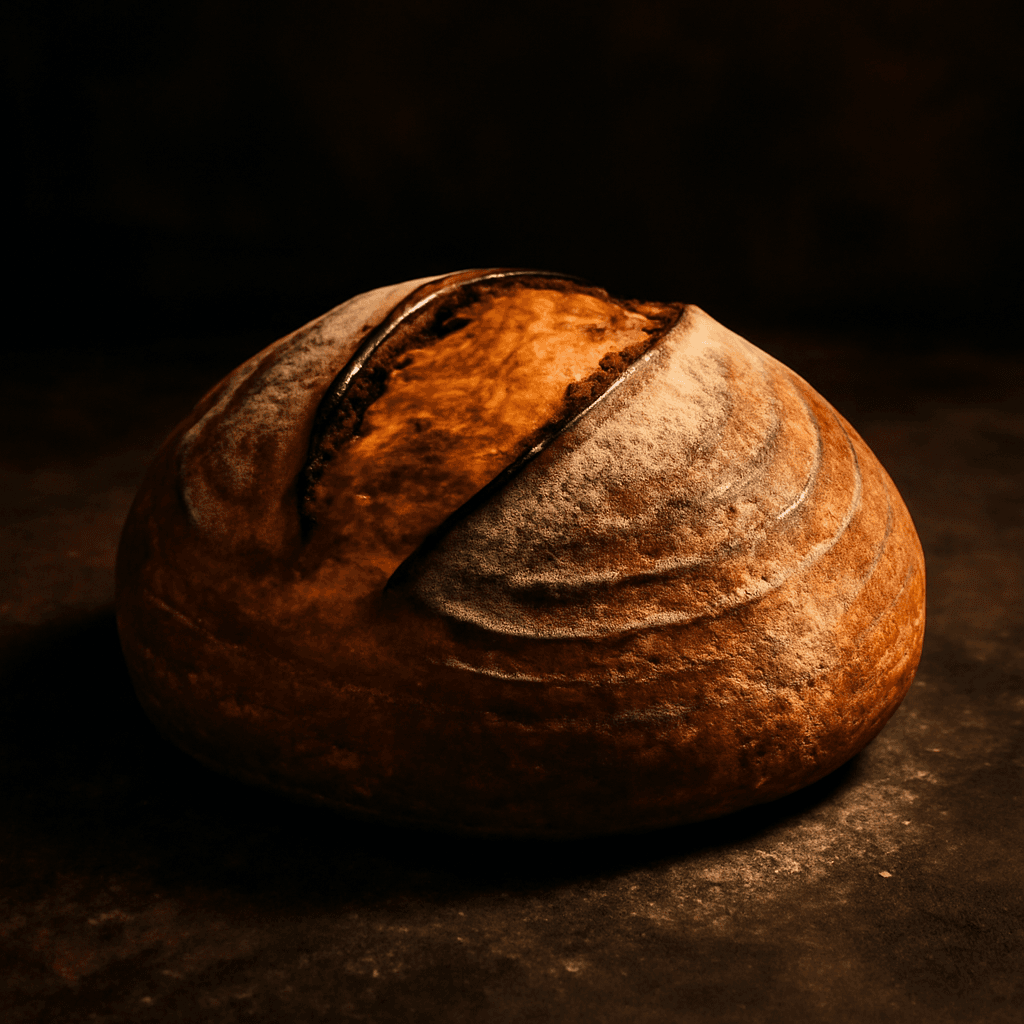
Classic Sourdough Bread - freshly baked bread

Classic Sourdough Bread

Sourdough

The ultimate sourdough boule — tangy, crusty, and with a beautifully open crumb. Made with just flour, water, salt, and a well-fed starter.

Prep Time

30 min

Proof Time

12h

Bake Time

45 min

Servings

10

Calories

185

Ingredients

  • 500 g bread flour
  • 350 g water (warm)
  • 100 g active sourdough starter
  • 10 g fine sea salt

Instructions

  1. 1

    Autolyse

    Mix flour and water. Cover and rest 30–60 minutes.

  2. 2

    Add Starter & Salt

    Add active starter and salt. Mix using the pinch-and-fold method until incorporated.

  3. 3

    Bulk Ferment

    Over 4–5 hours, perform 4–6 stretch-and-folds spaced 30–45 minutes apart.

  4. 4

    Pre-Shape

    Turn onto a floured surface. Shape into a loose round and bench rest 20 minutes.

  5. 5

    Final Shape

    Shape into a tight boule. Place seam-side up in a floured banneton.

  6. 6

    Cold Proof

    Cover and refrigerate 8–16 hours.

  7. 7

    Score & Bake

    Preheat Dutch oven to 500°F. Score dough. Bake covered 20 min, then 450°F uncovered 20–25 min.

Baker's Notes

Your starter must be active and bubbly before you use it. Do the float test — if a spoonful floats in water, it's ready to leaven bread.

Baker Thomas Moreau

About This Recipe

There's something almost alchemical about sourdough — a handful of flour, water, salt, and a bubbling jar of starter transform into a loaf with a crackling crust and a tangy, open crumb that smells like the bakery down the street. This classic boule is the purest expression of what sourdough can be, and mastering it is one of the most satisfying things a home baker can achieve.

Canadian home cooks keep coming back to this recipe because the long cold proof fits our busy schedules, and the result rewards every hour of patience. Once you nail the stretch-and-folds and learn to read your dough, you'll find yourself reaching for your starter before anything else.

Tips for the Best Classic Sourdough Bread

Keep your starter active and bubbly — the float test is your best friend here. The cold proof does the heavy lifting for flavour development, so don't rush it. And never skip the Dutch oven; that trapped steam is what gives you a blistered, shatteringly crisp crust.

What to Serve With It

This bread shines alongside a wedge of sharp Ontario cheddar, a smear of local honey, and a plate of smoked salmon. It's equally at home with a bowl of pea soup or used as the vehicle for a proper grilled cheese sandwich. Pair it with a cup of coffee and enjoy the silence while it's still warm.

Storage & Reheating

Store your loaf in a bread box or paper bag at room temperature for up to three days. For longer keeping, slice it and freeze in airtight bags — a quick trip to a hot oven brings it back to life. Avoid the refrigerator, which turns sourdough stale faster than anything else.
Nutrition Facts

185

cal

6g

Protein

7g

Fat

31g

Carbs

2g

Fiber

365mg

Sodium

Frequently Asked Questions

What happens if my starter isn't active enough?+

Your loaf will be dense and flat. Feed your starter twice daily for a few days until it doubles in size and passes the float test before mixing your dough.

How do I know when bulk fermentation is done?+

The dough should look puffy, feel jiggly, and show small bubbles at the surface. It won't double in size like yeasted dough — look for signs of activity instead.

My dough is really sticky. Is that normal?+

Yes — 70 per cent hydration is quite wet. Wet your hands before stretching and folding, and resist the urge to add extra flour. Wet hands prevent sticking while letting you manipulate the dough.

What should the crumb look like?+

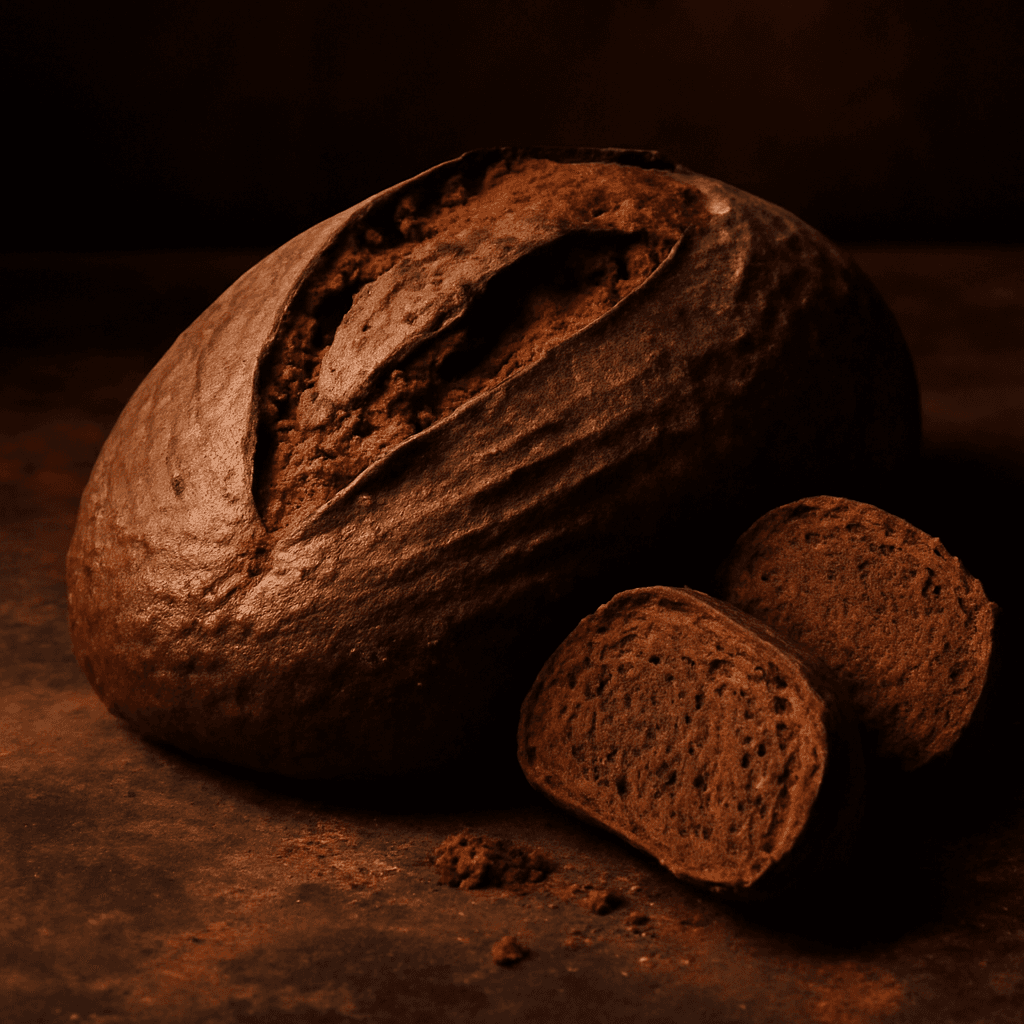
An open, irregular crumb with holes of varying sizes is the goal. A denser crumb doesn't mean failure — it just means your fermentation was shorter or your shaping was tighter.

Why does the recipe call for a cold proof?+

Cold fermentation develops the tangy flavour you associate with good sourdough, firms up the dough for easier shaping, and lets you bake on your schedule rather than the dough's.

Tips & Tricks

  • Your starter must be active and bubbly — do the float test.
  • The cold proof is where the tangy flavour develops — don't skip it.
  • Steam from the Dutch oven is essential for a crispy, blistered crust.

Reviews (5)

Marie L.★★★★★

Made this last weekend and my family loved it! The bread came out perfectly golden with a beautiful crust. Will definitely be making this again.

Michael W.★★★★★

This recipe is a keeper. The Baker's Notes really helped me understand the technique. My new favourite bread to bake on weekends.

Sarah M.★★★★★

So glad I found this recipe. The instructions are clear and the result is consistently great. I've made it four times already and it's perfect every time.

David C.★★★★★

Bakery-quality bread at home. I followed the recipe exactly and it turned out amazing. The proofing tips really helped.

Lisa P.★★★★★

Made this for a dinner party and everyone wanted the recipe. The bread was the star of the table — warm, crusty, and absolutely delicious.