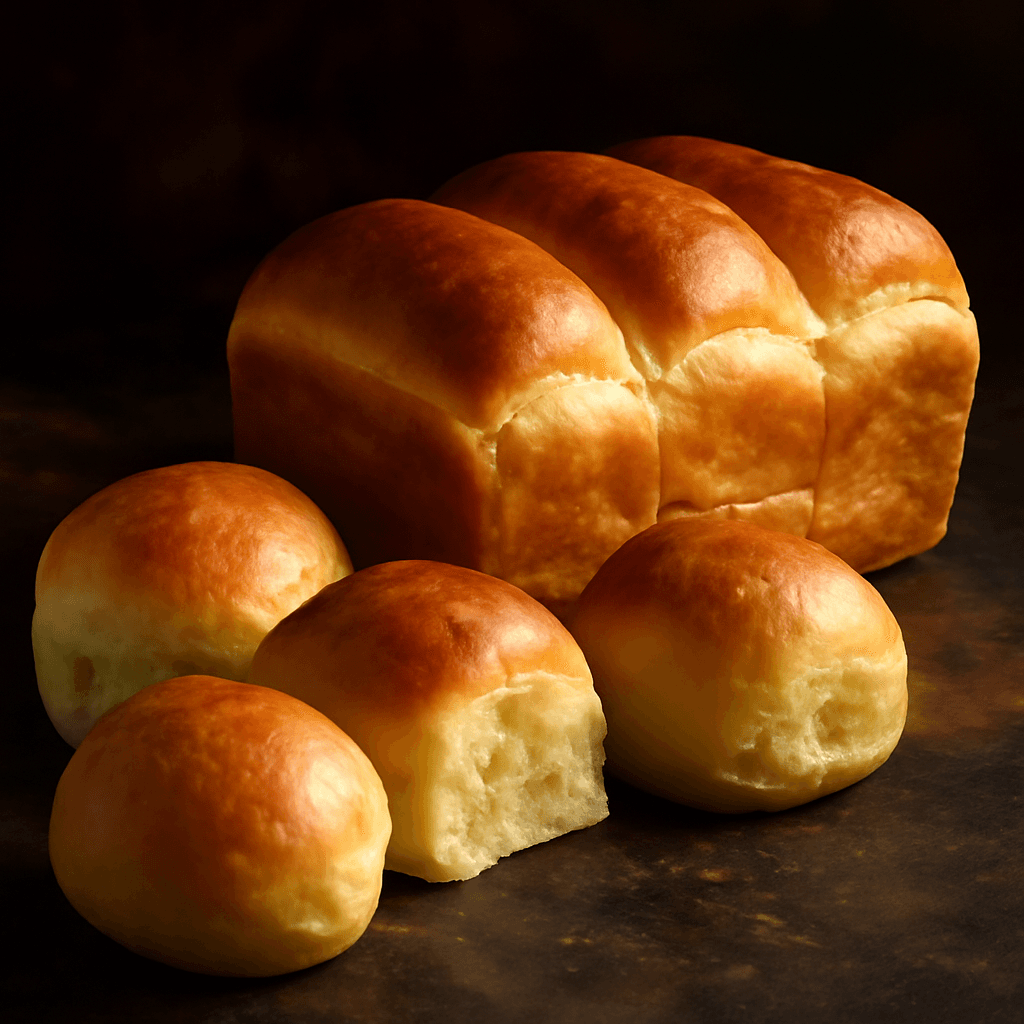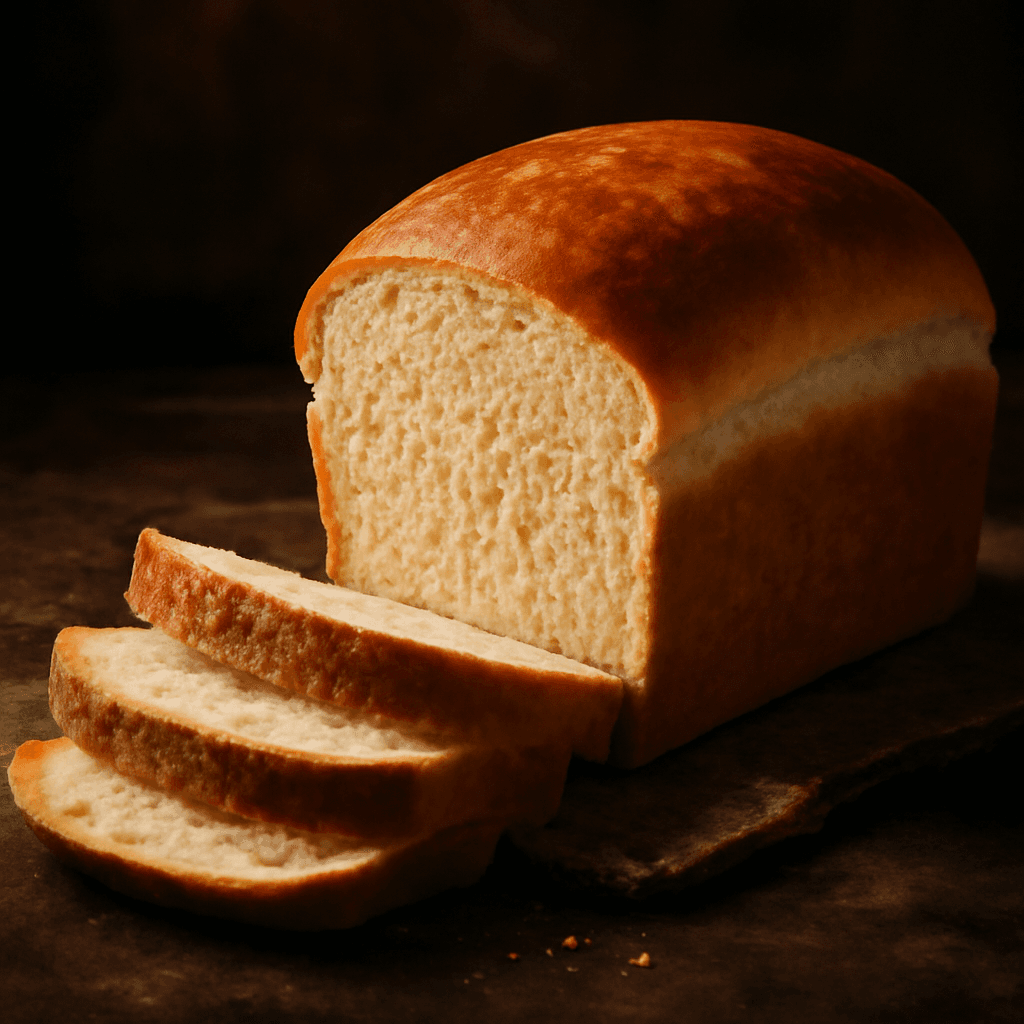
Classic Homemade White Bread - freshly baked bread

Classic Homemade White Bread

Classic White & Sandwich Bread

The ultimate homemade white bread — soft, fluffy interior with a golden crust. This two-rise yeast bread is the foundation recipe every home baker needs.

Prep Time

20 min

Proof Time

1h 30m

Bake Time

30 min

Servings

10

Calories

180

Ingredients

  • 3 cups all-purpose flour
  • 2¼ tsp active dry yeast
  • 1 cup warm water (110°F/43°C)
  • 2 tbsp granulated sugar
  • 2 tbsp unsalted butter, softened
  • 1 tsp salt

Instructions

  1. 1

    Activate the Yeast

    Dissolve sugar in warm water. Sprinkle yeast over top and let stand 5–10 minutes until foamy.

  2. 2

    Mix the Dough

    Add butter, salt, and flour to the yeast mixture. Stir until a shaggy dough forms.

  3. 3

    Knead

    Turn out onto a floured surface and knead 8–10 minutes until smooth and elastic.

  4. 4

    First Rise

    Place in a greased bowl, cover, and let rise 60 minutes until doubled.

  5. 5

    Shape the Loaf

    Punch down and shape into a loaf. Place seam-side down in a greased 9×5-inch pan.

  6. 6

    Second Rise

    Cover and rise 30 minutes until the dough crests above the pan.

  7. 7

    Bake

    Bake at 375°F (190°C) for 28–32 minutes until golden brown and internal temp reaches 190°F. Cool on a rack.

Baker's Notes

I always use a stand mixer with a dough hook for the initial mixing, then finish by hand — you get better feel for when the gluten is properly developed.

Baker Thomas Moreau

About This Recipe

There's something almost magical about pulling a loaf of homemade white bread from the oven — that warm yeasty aroma filling the kitchen, the crust crackling as it cools, and the promise of a soft, pillowy crumb just waiting to be torn apart. This particular loaf, which I call the ultimate white bread because it really does live up to the name, is the kind of recipe that anchors a Canadian kitchen. Whether you're making sandwiches for kids headed off to school or serving it alongside a rich chicken stew on a damp November evening, there's a comfort in knowing exactly what went into it.

What sets this recipe apart is the simple two-rise method that gives the bread its signature lightness. Starting with just warm water, a touch of sugar to wake up the yeast, and enough all-purpose flour to hold it together, you get a dough that's forgiving enough for beginners yet rewarding enough to keep coming back to. The butter folded in before the first rise keeps things tender, and that final rise in the loaf pan creates the kind of golden crust that makes you want to bake another one before the first one's even gone.

Tips for the Best Classic Homemade White Bread

The single biggest mistake I see is using water that's too hot — anything above 115°F will kill the yeast dead. Test it against your wrist: it should feel warm, not hot. During kneading, resist the urge to add extra flour; the dough should tack up but not stick. If you're using a stand mixer, switch to hand-kneading after the dough hook has brought it together — you'll develop better feel for when the gluten is ready. A properly kneaded dough passes the windowpane test: stretch a small piece thin enough to see light through it without tearing.

What to Serve With It

This bread shines as simple buttered toast with a good slab of salted butter — nothing fancy, just the bread doing what bread was meant to do. For lunch, it makes exceptional peanut butter and jelly sandwiches or ham and cheese melts. It's also the ideal companion to a bowl of French onion soup or a hearty vegetable chowder, especially during Ontario and Quebec winters. I love slicing it thick and serving it alongside roast chicken with the pan drippings pooled on the plate.

Storage & Reheating

Keep the loaf wrapped in a clean kitchen towel at room temperature for up to three days — plastic wrap traps moisture and can make the crust go soggy faster. For longer storage, slice the bread once completely cooled, bag it tightly in freezer-safe bags, and freeze for up to three months. Toast frozen slices straight from the freezer at 350°F for about 10 minutes, or pop individual slices through the toaster for a quick breakfast.
Nutrition Facts

180

cal

4g

Protein

5g

Fat

35g

Carbs

2g

Fiber

329mg

Sodium

Frequently Asked Questions

How do I know when the bread is done baking?+

The loaf should be golden brown and sound hollow when you tap the bottom — that's the classic baker's test. For certainty, insert an instant-read thermometer into the centre: 190°F means it's fully baked through. The crust will also feel firm, not soft, when pressed lightly.

My bread came out dense. What went wrong?+

Most likely the yeast didn't activate properly — check that your water was between 105°F and 115°F when you added it. If the yeast didn't foam within 10 minutes, discard it and start over with fresh yeast. Another culprit is under-proofing: the dough needs to genuinely double in size during the first rise, not just look a bit bigger.

Can I use bread flour instead of all-purpose flour?+

Yes, and it'll give you a chewier crumb with slightly more structure — which is great for sandwich bread. Just be aware that bread flour absorbs more liquid, so you may need an extra tablespoon of water. Stick with all-purpose if you prefer that softer, pillowy texture this recipe is known for.

How long will the finished loaf stay fresh?+

At room temperature, wrapped in a clean towel or placed in a bread box, it'll be best within three days. After that, it starts to dry out from the edges inward. If you're not eating it quickly, freeze slices rather than refrigerate — the fridge actually accelerates staling in bread.

Why does the recipe say to cool completely before slicing?+

Bread continues to cook internally for several minutes after coming out of the oven. If you slice it warm, the steam escapes too fast and the crumb turns gummy and dense. Wait until the loaf is cool to the touch on a wire rack — usually 30 to 45 minutes — and you'll get clean, even slices every time.

Tips & Tricks

  • Use a thermometer to check water temperature — too hot kills the yeast, too cold won't activate it.
  • For a softer crust, brush the top with melted butter right out of the oven.
  • Let the bread cool completely before slicing for the cleanest cuts.

Reviews (3)

Marie L.★★★★★

Made this last weekend and my family loved it! The bread came out perfectly golden with a beautiful crust. Will definitely be making this again.

Michael W.★★★★★

This recipe is a keeper. The Baker's Notes really helped me understand the technique. My new favourite bread to bake on weekends.

Sarah M.★★★★★

So glad I found this recipe. The instructions are clear and the result is consistently great. I've made it four times already and it's perfect every time.